Certificates in Auzmor Learn
Roles: Admins, Managers, Learners
Description: In this article, you’ll learn how certificates work in Auzmor Learn from creating certificate templates, attaching them to courses, reusing saved templates, and managing issued certificates for learners. Certificates help recognise learner achievements and can be customised by administrators to match your organization’s branding and compliance needs.
Benefits:
Customizable Design: Create certificates tailored to each course using predefined backgrounds and editable attributes.
Centralized Access: Admins, managers, and learners can easily view, download, and manage certificates directly from user profiles.
Easy Template Management: Save, reuse, and update templates to streamline certificate creation for future courses.
Step-by-Step Guide: Follow the instructions below for creating, saving and managing certificates in Auzmor Learn
For Administrators
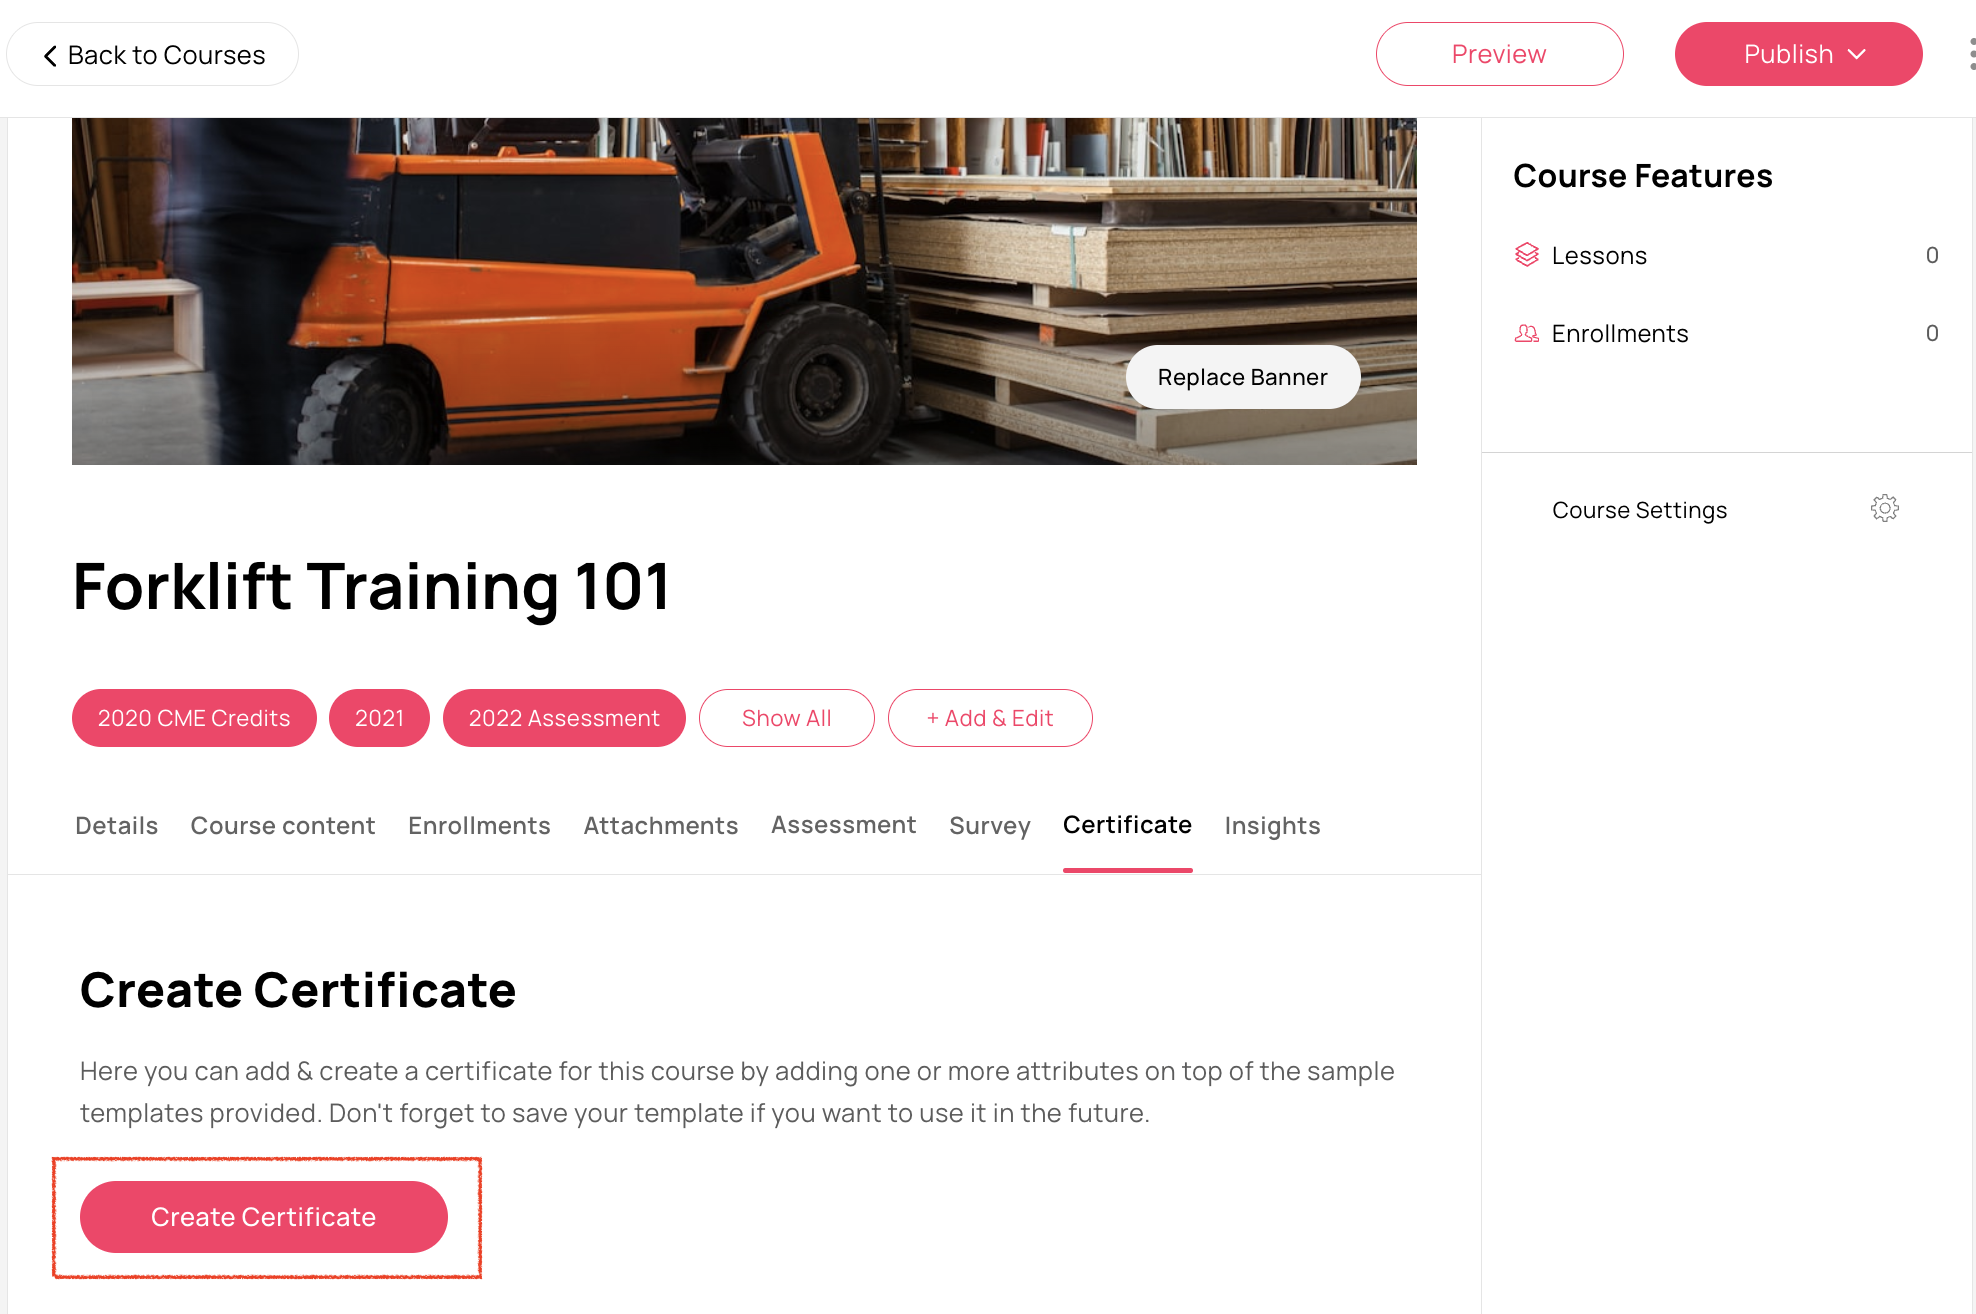
Creating a Certificate
Admins can add a certificate to a course in two ways:
Add to an existing course: Open the Course Detail page of any published or draft course.
Add while creating a new course: Attach a certificate during the Course Creation flow.
Add to an existing course: Open the Course Detail page of any published or draft course.
Add while creating a new course: Attach a certificate during the Course Creation flow.
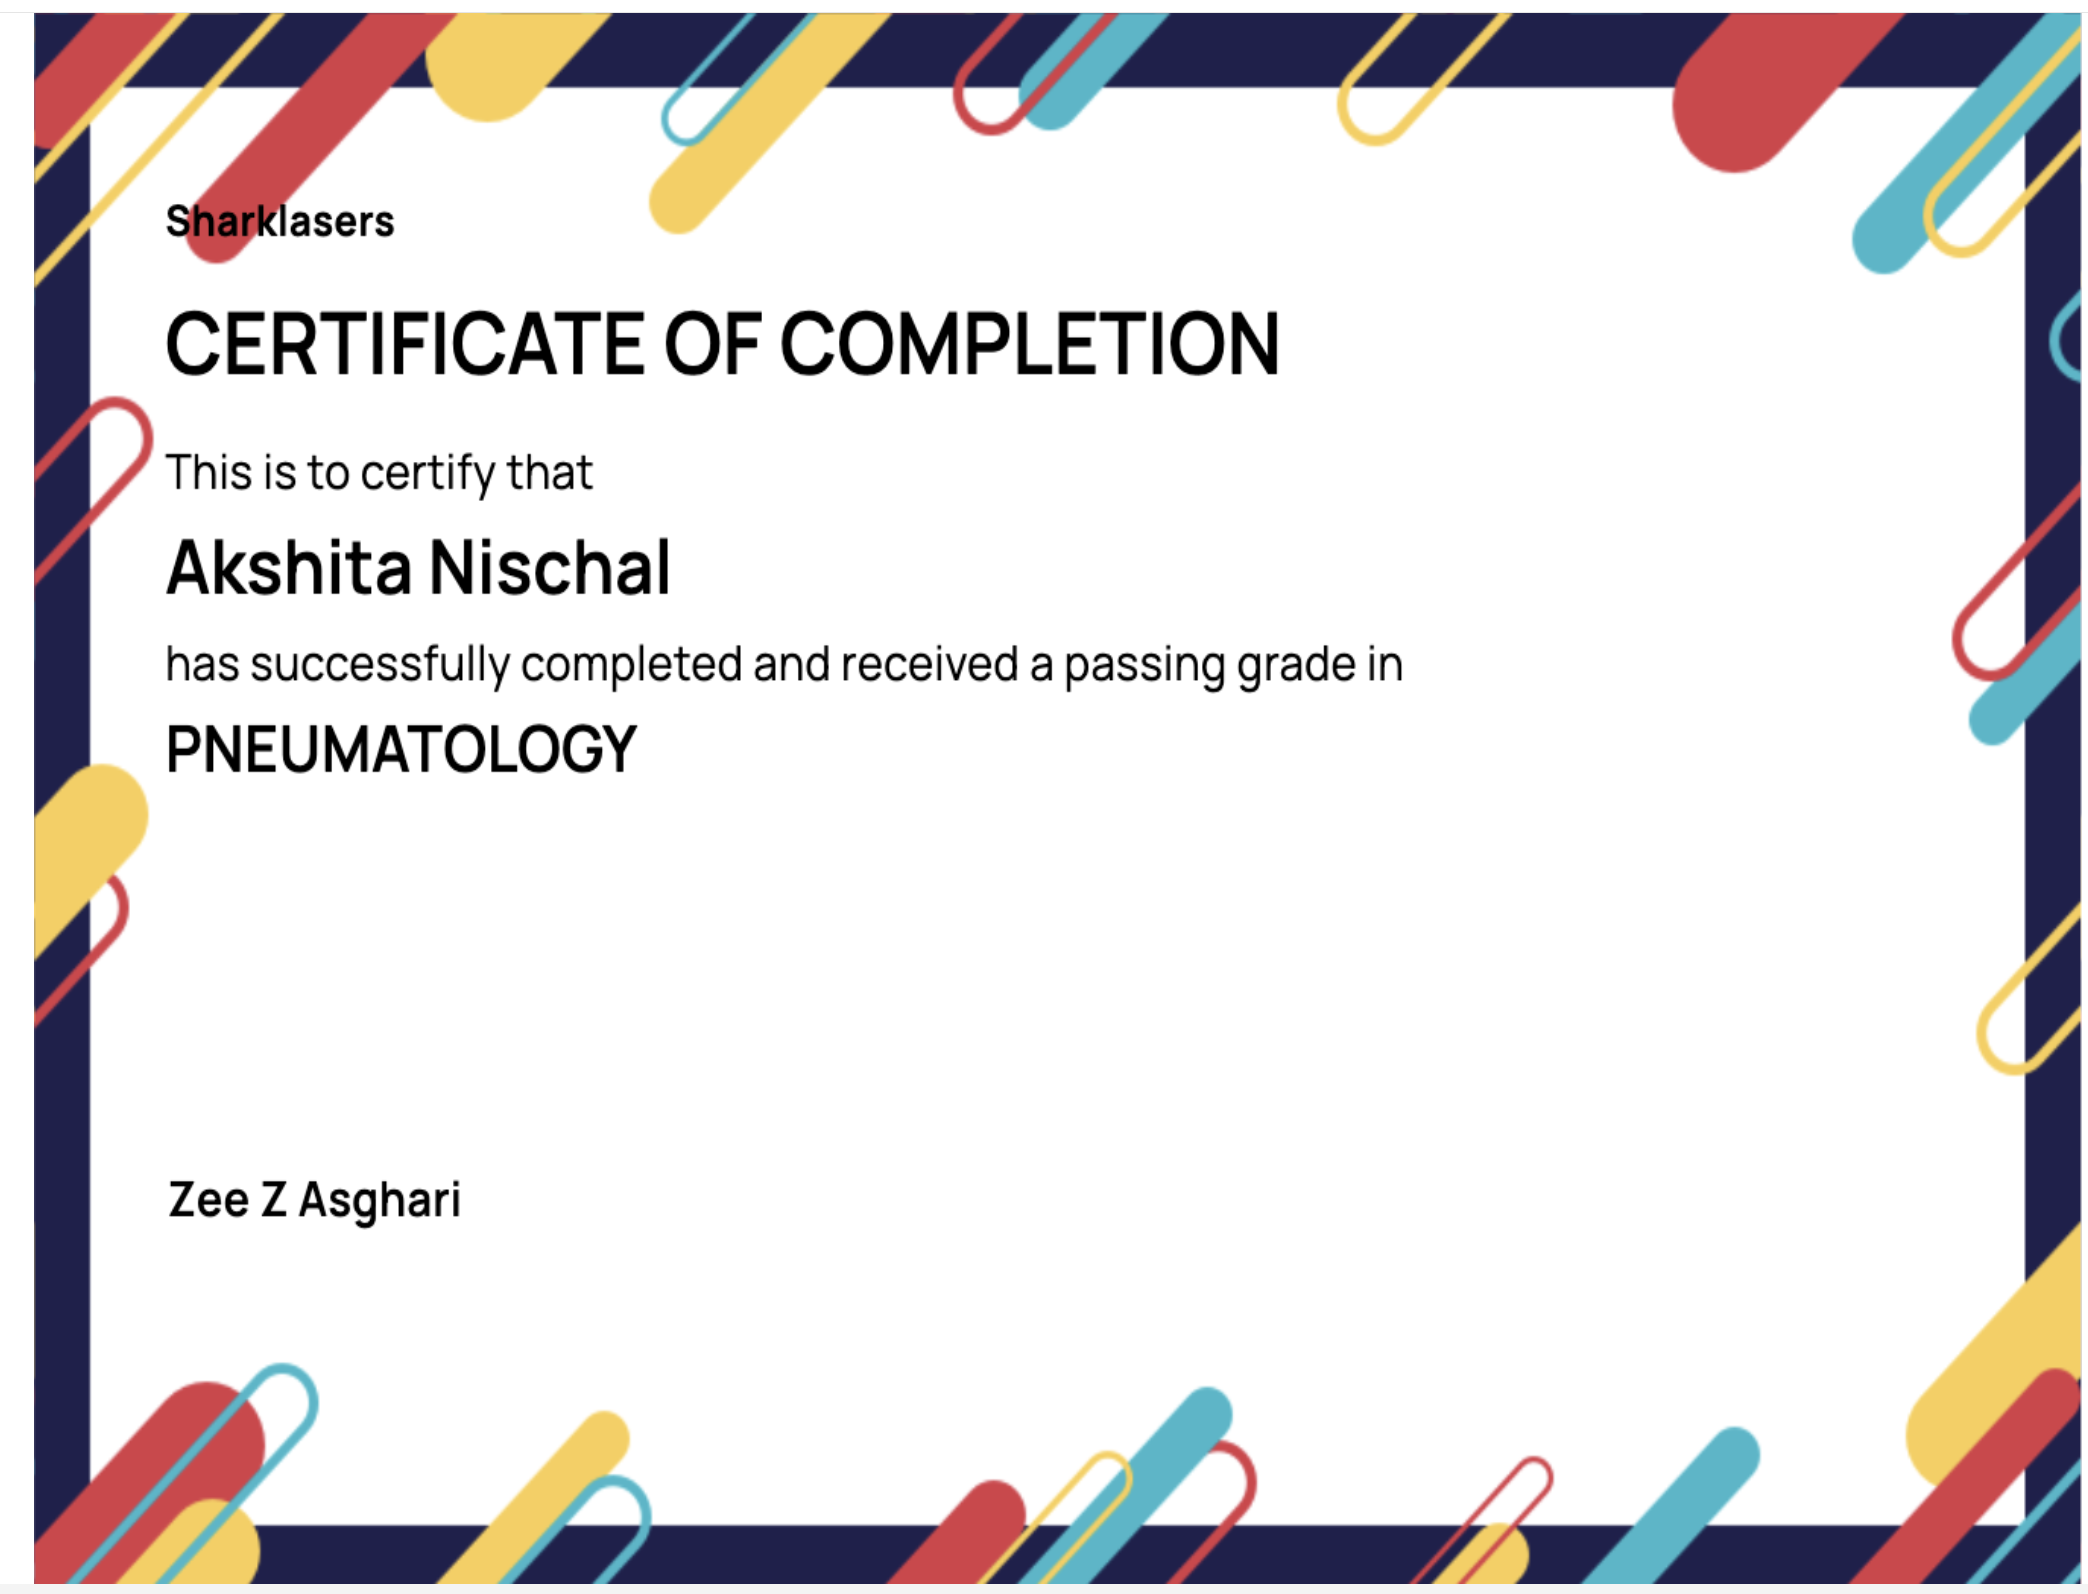
While creating a certificate, you can choose which attributes to include and customize the design. Admins can also select from nine predefined backgrounds and use the live preview to see real-time updates before finalizing the certificate.
Below is the list of attributes that can be added to a certificate.
Attributes You Can Add In The Certificate | What Action Are Allowed? | Mandatory (Y/N) |
Course Title | Can Edit | Yes |
Course Description | Can Edit | No |
Issue Date | Automatically Generated | No |
Expiry Date | Can Edit | No |
Learners Name | Automatically Generated | Yes |
Logo | Can Upload | No |
Signature | Can Edit | No |
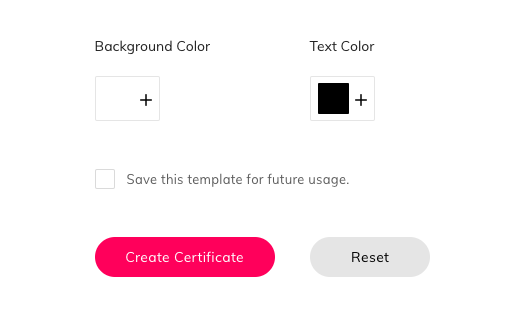
Background Color | Can Edit | No |
Text Color | Can Edit | No |
Certificate ID | Automatically Generated | No |
Authority Name | Can Edit | Yes |
Authority Job Title | Can Edit | Yes |
Training Time | Can Edit | No |
Organization Name | Can Edit | No |
Learner Job Title | Automatically Generated | Yes |
Saving a Template
When creating a certificate, you can save your custom design as a template by selecting the checkbox above the Create Certificate button.
Each template must have a unique name.
All selected attributes and design choices are saved.
Saved templates can be reused for other courses.
Templates can be deleted and recreated anytime.
Each template must have a unique name.
All selected attributes and design choices are saved.
Saved templates can be reused for other courses.
Templates can be deleted and recreated anytime.
While creating a certificate, you’ll see a Saved Templates section where you can select an existing template.
Viewing Certificates on a User Profile
Admins can view all certificates earned by a user under the Certificates tab in the User Profile.
Admins can also:
View
Export
Print
Delete
any certificate issued to a learner
Admins can also:
View
Export
Delete
For Managers
Managers can view certificates earned by users they manage under the Certificates tab in the User Profile.
Managers can:
View
Export
Print
certificates, but cannot create certificates.
For Learners
Receiving a Certificate
Learners will receive a certificate automatically after completing a course that has a certificate attached to it.
Learners will also receive:
An in-app notification
An email with the certificate attached
An in-app notification
An email with the certificate attached
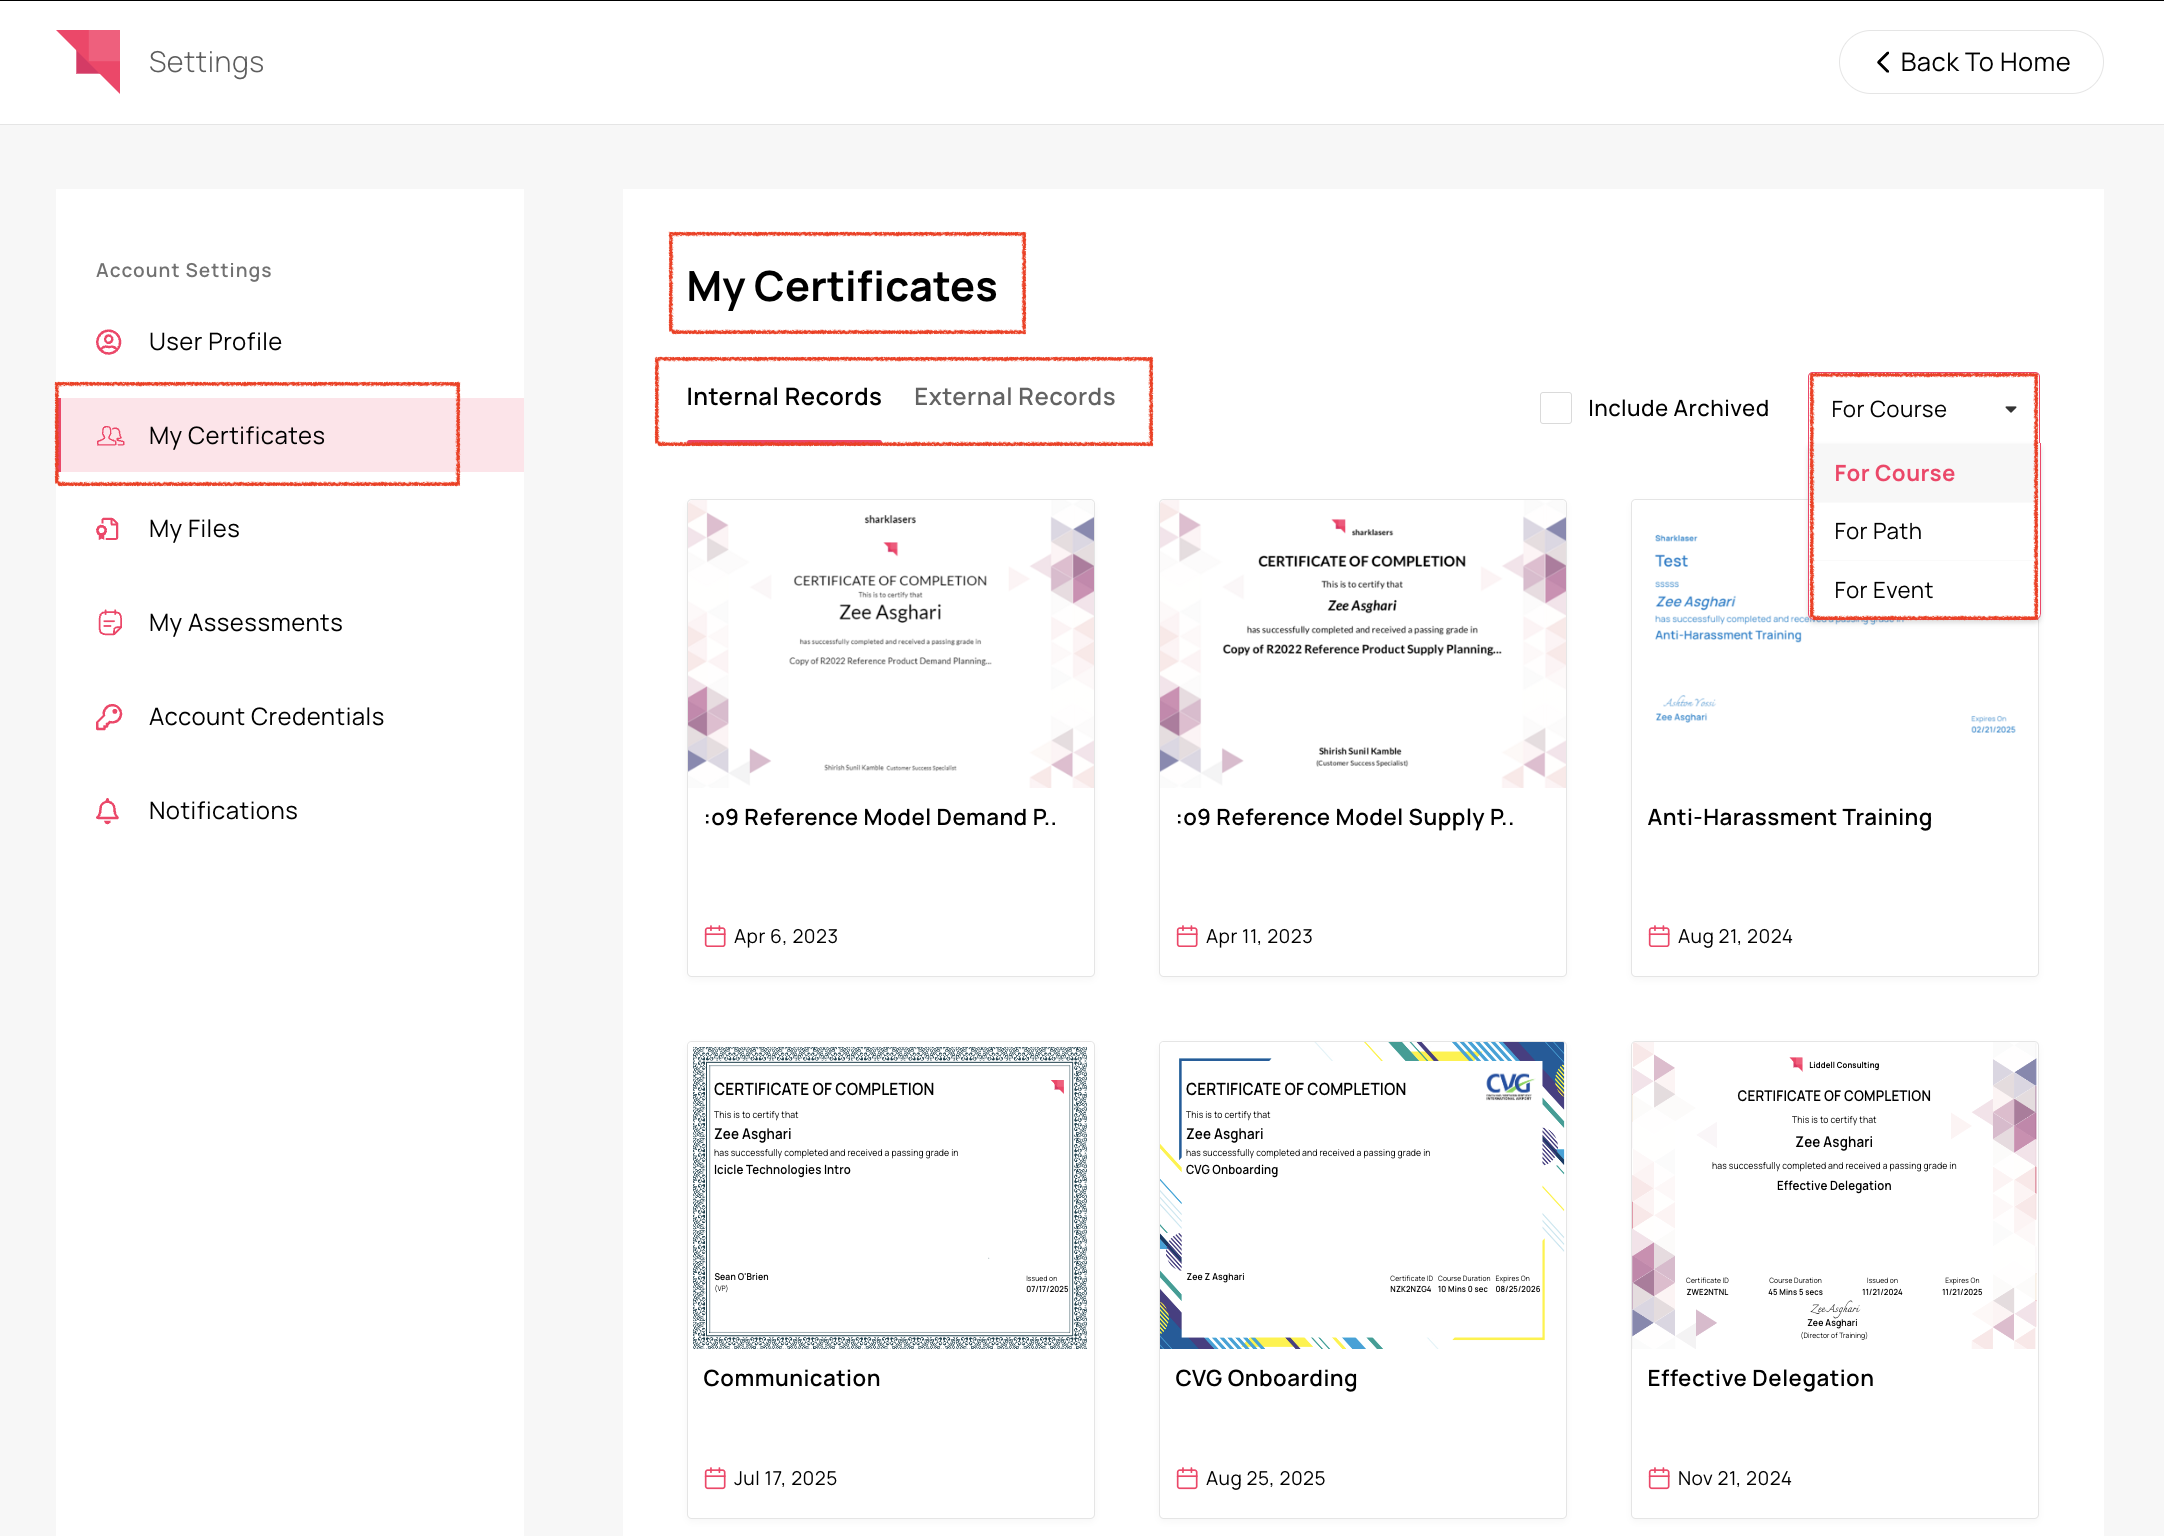
Viewing Certificates
Learners can access all their certificates by visiting Settings > Certificates, where each certificate will include the associated training name.
Certificates are also always available on the respective training detail page.
Learners can:
Export
Print
any certificate at any time.
Export
Print
Important Notes:
Any changes made to a certificate design will not affect certificates already issued.
If a learner completes a course multiple times, they will receive a certificate each time.
Removing a certificate from a course does not impact already issued certificates.
Deleting a template does not affect certificates that were created or issued earlier.
Managers cannot create certificates.
Related Articles
Where can I find the Completion Certificates for Courses in Auzmor Learn
Roles: Admin, Managers & Learners Description: In this article, you’ll learn where to find course completion certificates in Auzmor Learn. Whether you're an Admin, Manager, or Learner, the LMS allows you to view certificates earned from completed ...Recurring Events in Auzmor Learn
Title: Recurring Events In Auzmor Learn. Description: In this article, admins will learn how to create recurring training sessions and efficiently manage session demand using the waitlist feature in Auzmor Learn. Benefits: Recurring Events: Automated ...Getting started with Auzmor Learn mobile app
Getting started with Auzmor Learn mobile app Auzmor Learn mobile app allows you to access your courses on the go. With the app, you can explore new courses, enroll and experience them on your device, take assessments, get certificates and download ...Outlook Calendar Integration In Auzmor Learn
Overview Auzmor Learn supports direct integration with Microsoft Outlook Calendar to simplify and automate scheduling for Instructor-Led Trainings (ILTs) or Events. When an event is created in Auzmor Learn, it automatically appears on the Outlook ...Creating Multi-Session Events In Auzmor Learn
Role: Admins Description: In this article, admins will learn how to create, manage, and track multisession events in Auzmor Learn. Benefits: Streamlined Scheduling: Admins can organize multiple related sessions under a single event, reducing the need ...