Azure Active Directory SCIM Configuration
Here are the steps that you need to follow:
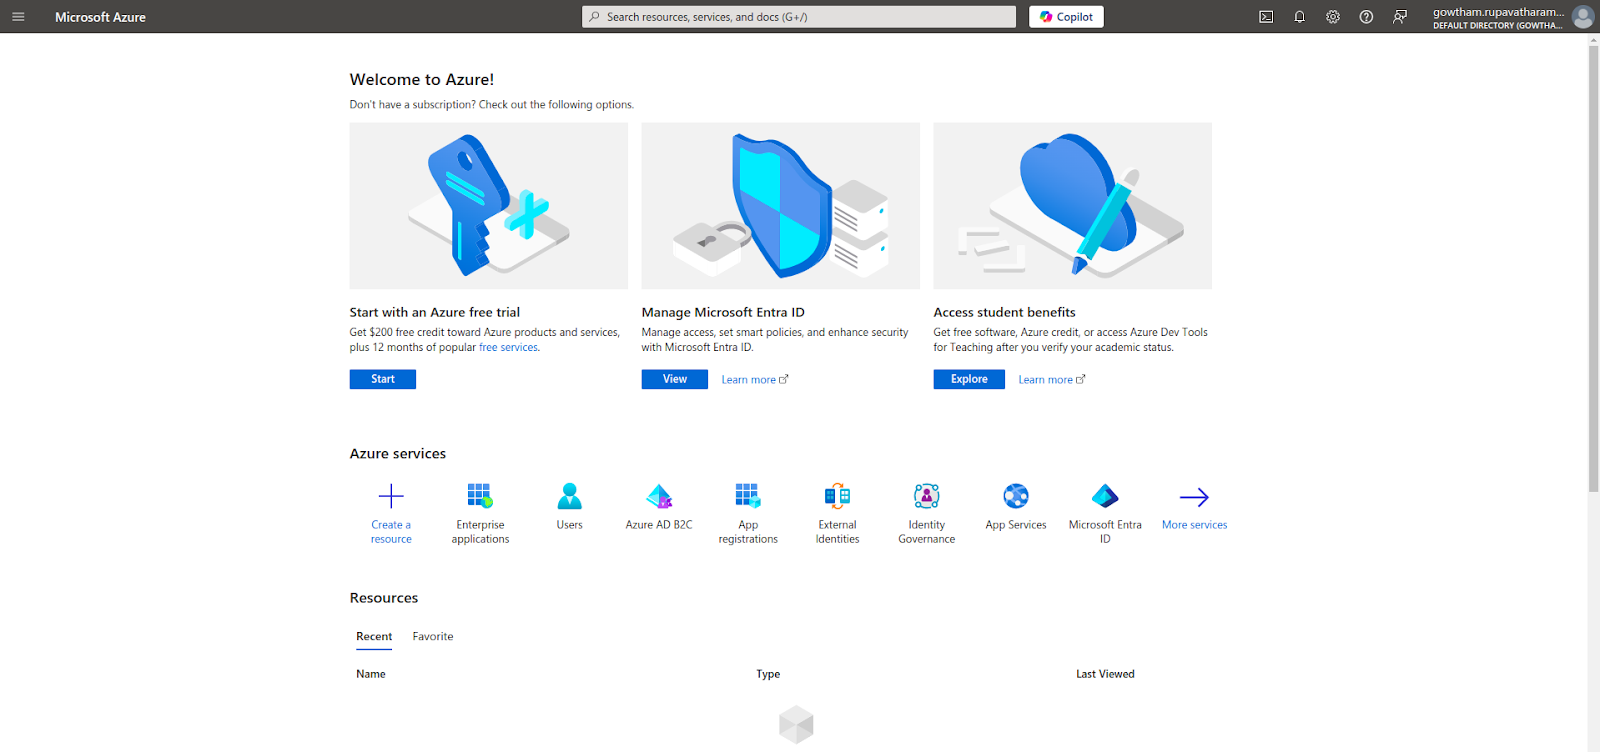
1. Login to the Azure Portal - Microsoft Entra admin center as at least an Application Administrator.
2. Select Enterprise Applications
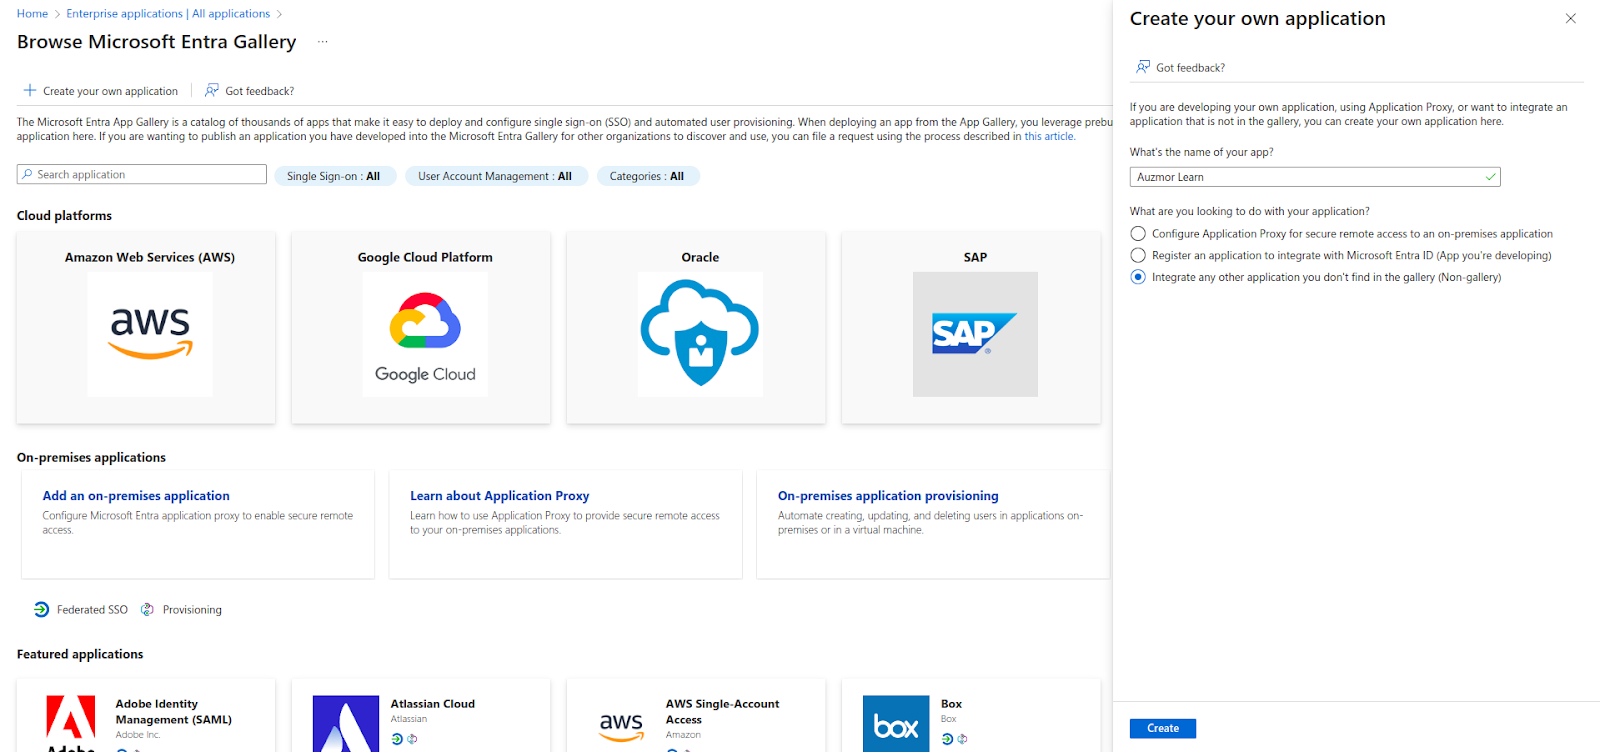
3. Select + New application > + Create your own application. Enter a name for your application, choose the option "integrate any other application you don't find in the gallery" and select Create to create an app object.
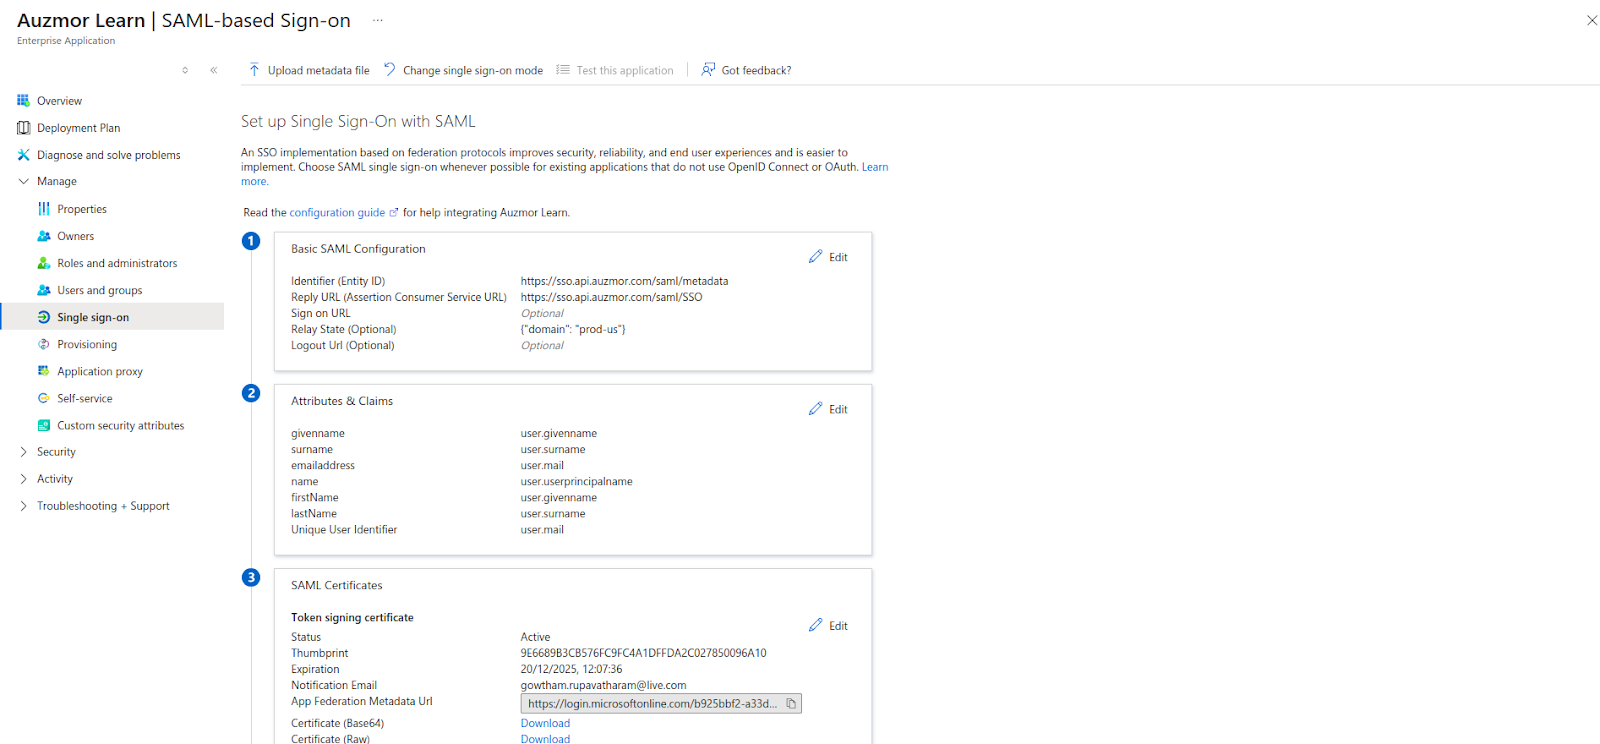
4. Set up Single Sign On: Refer to the Azure Active directory SSO configuration help article and complete the SSO configuration for your enterprise application.
Note: We can also set up SCIM provisioning steps as below for existing SSO-configured apps or create new ones, as outlined in steps 3 and 4.
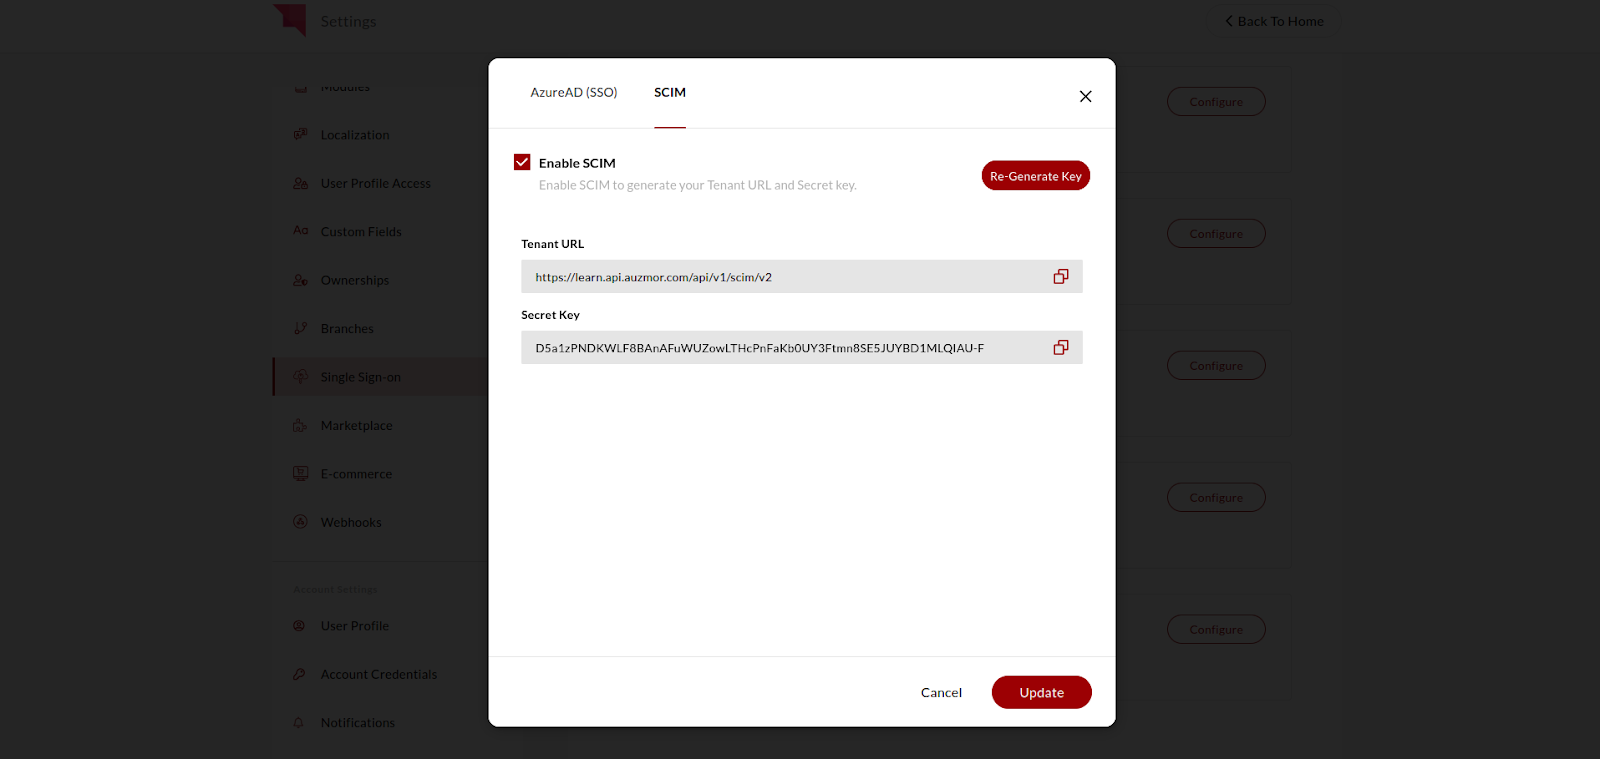
5. SCIM provisioning steps in Auzmor Learn
Auzmor Learn: Login as Primary Admin -> Settings -> Single Sign-on -> Configure Microsoft Active Directory -> Set/Update the SSO metadata XML -> Select the SCIM tab -> Enable SCIM and click the CTA Generate Key -> Click Update and save the changes
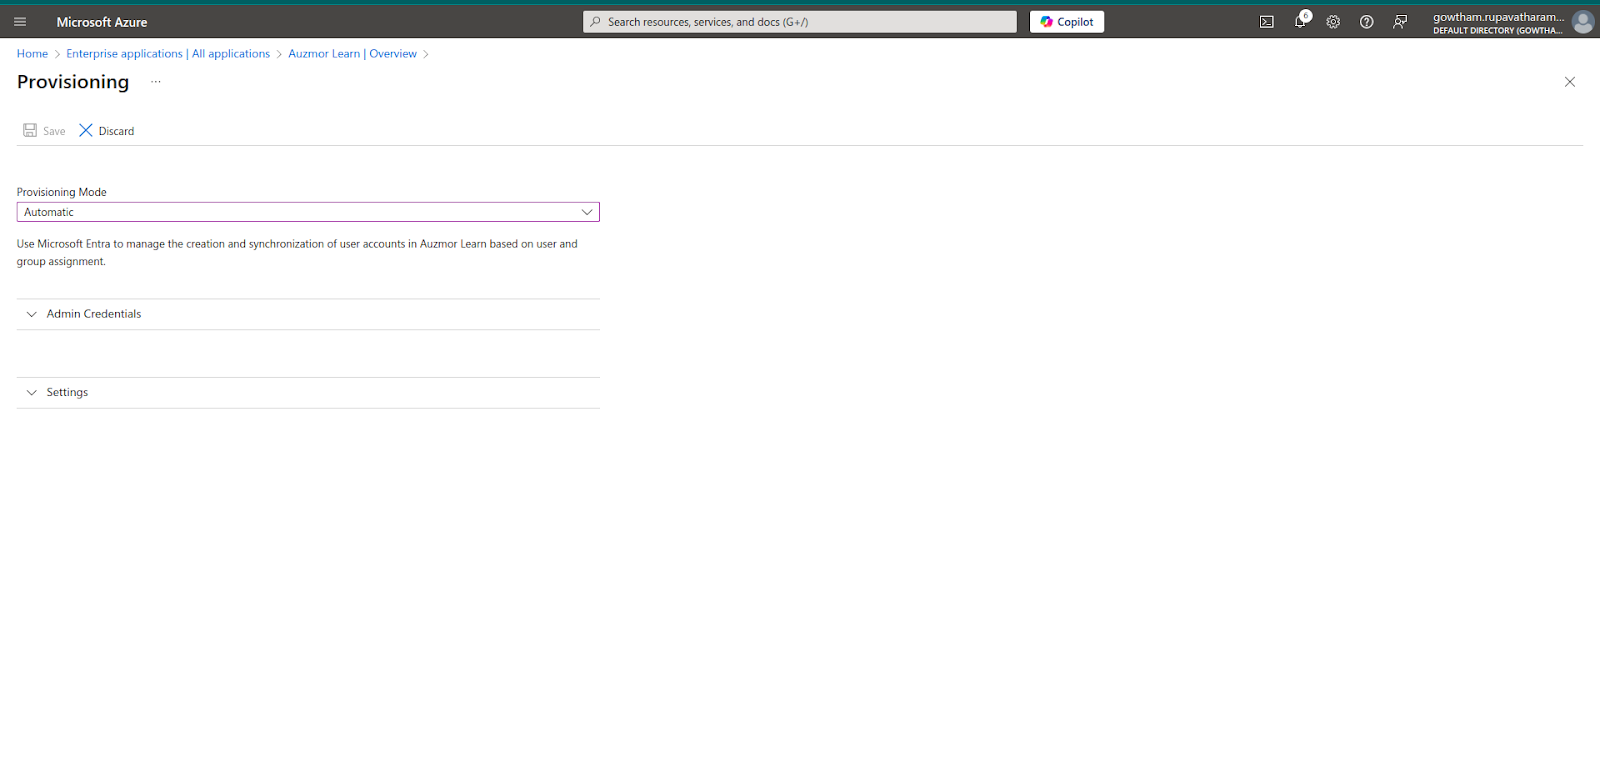
6. SCIM Provisioning Steps in Azure
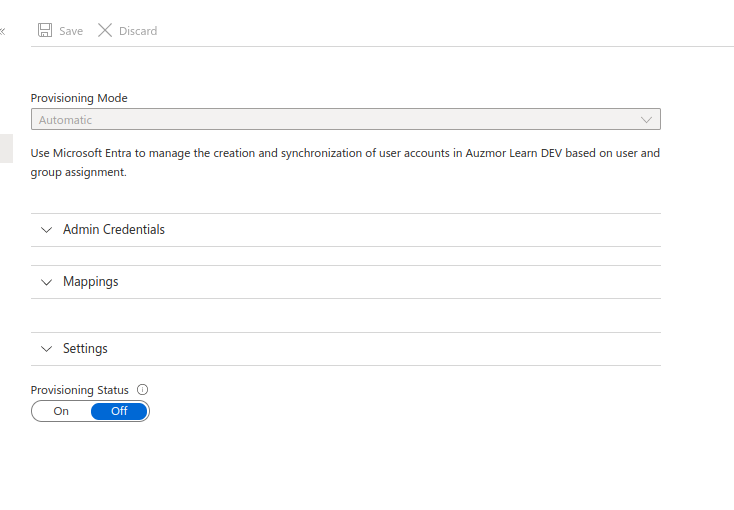
In the app management screen, select Provisioning in the left panel -> Get Started
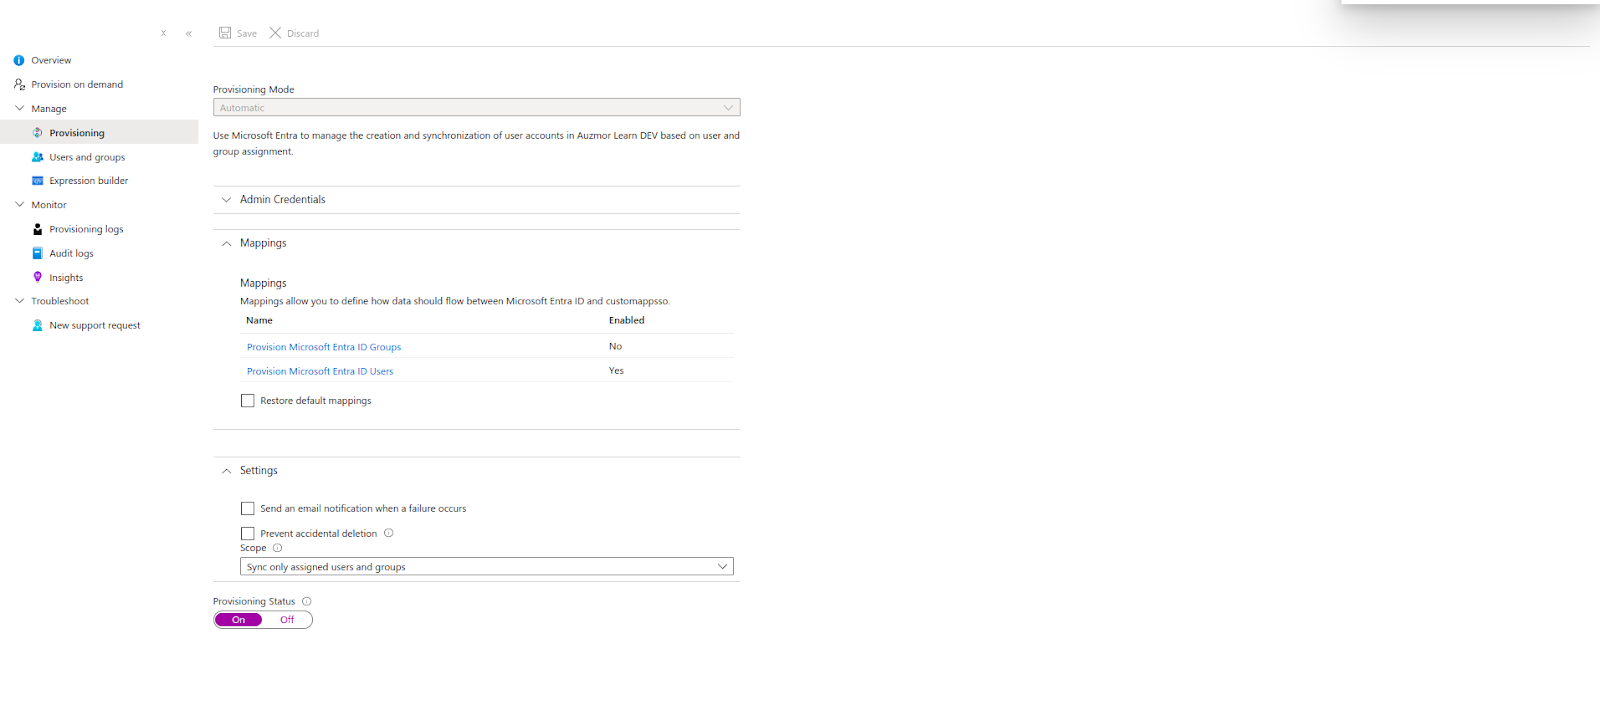
In the Provisioning Mode menu, select Automatic.
Under Admin Credentials, Enter the Tenant URL and Secret Token with the values in the Auzmor Learn -> Settings -> Single Sign On -> Microsoft Active Directory -> SCIM
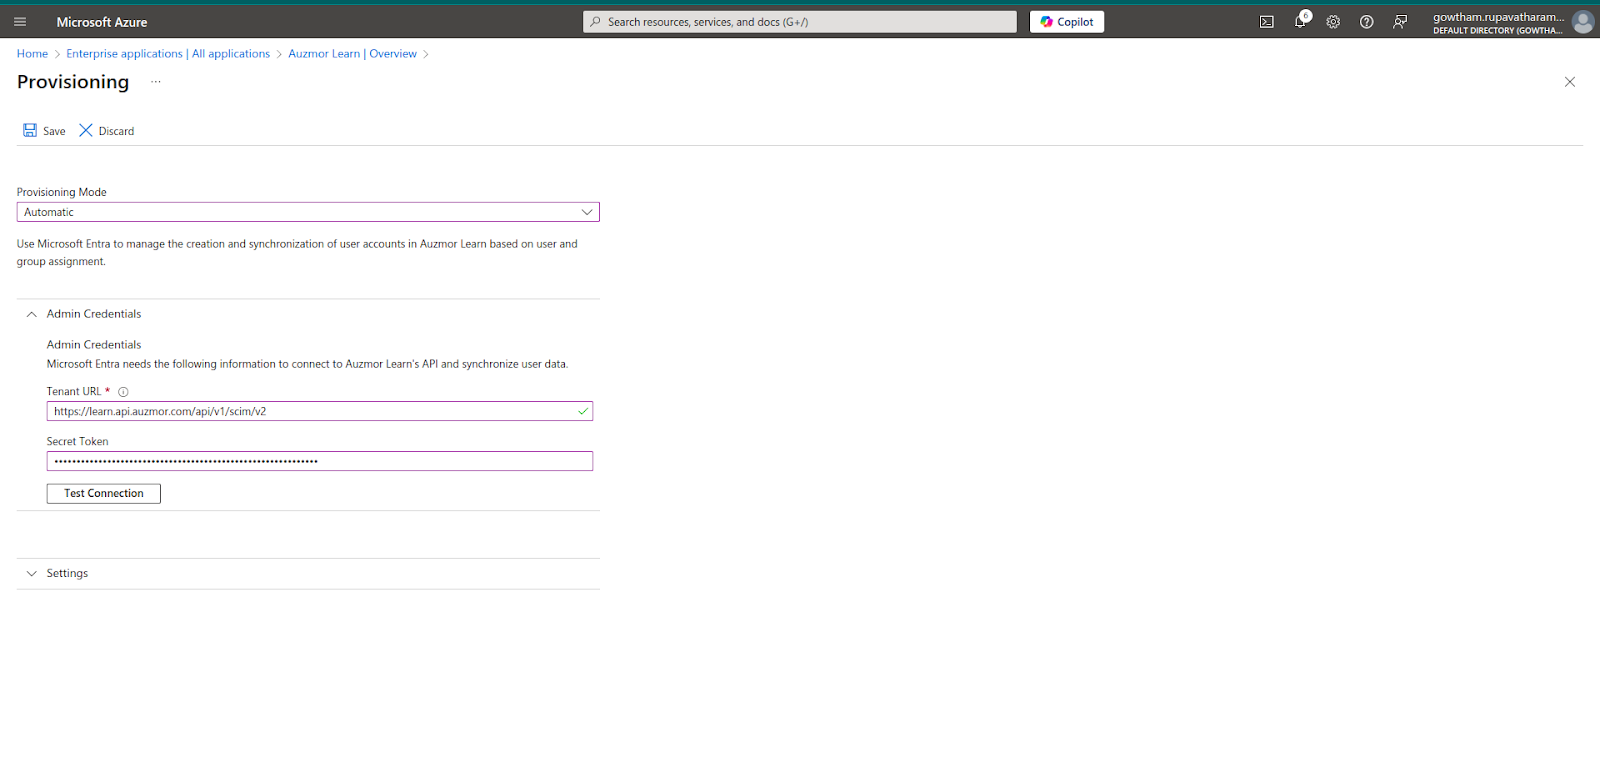
Click Test Connection and ensure connection is accomplished successfully.
Click Save
7 . Assign users and groups
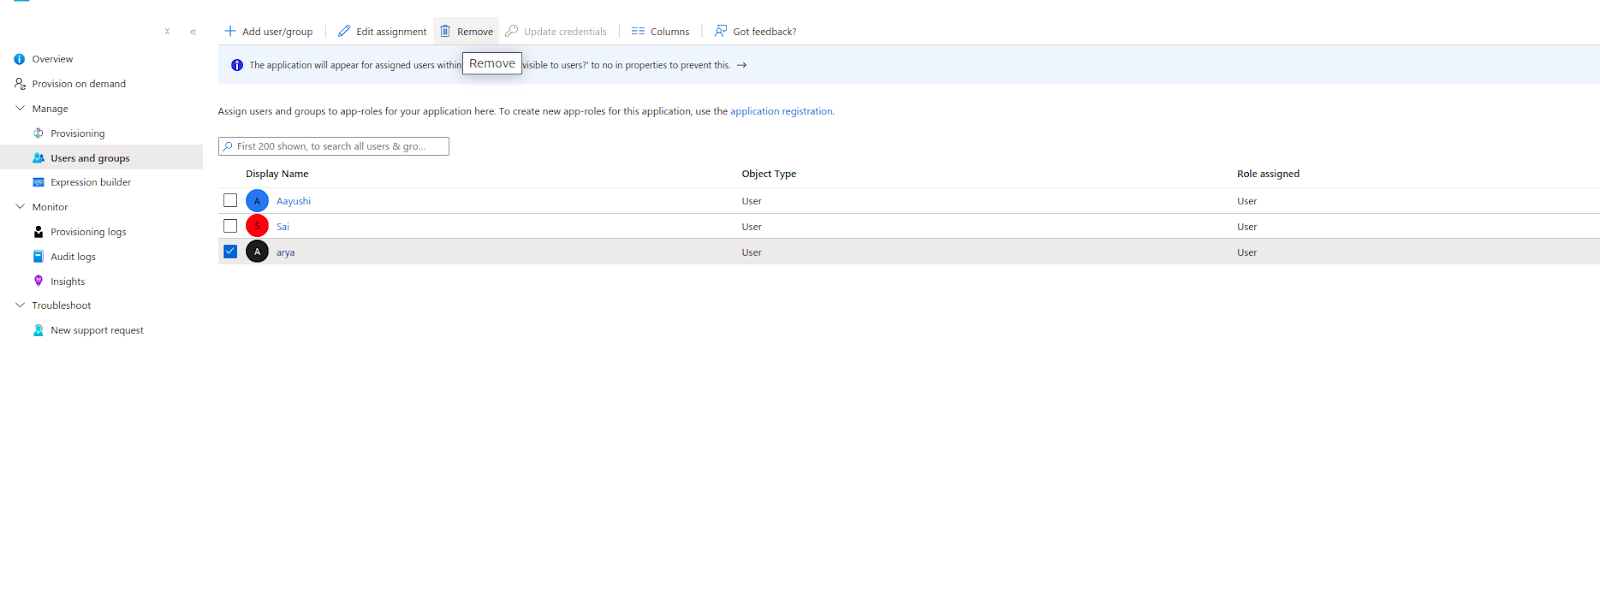
Select Users and groups in the left panel
Select Add User/Group
Under Users -> Select None selected -> Select the users from the list -> Click Select -> Assign.
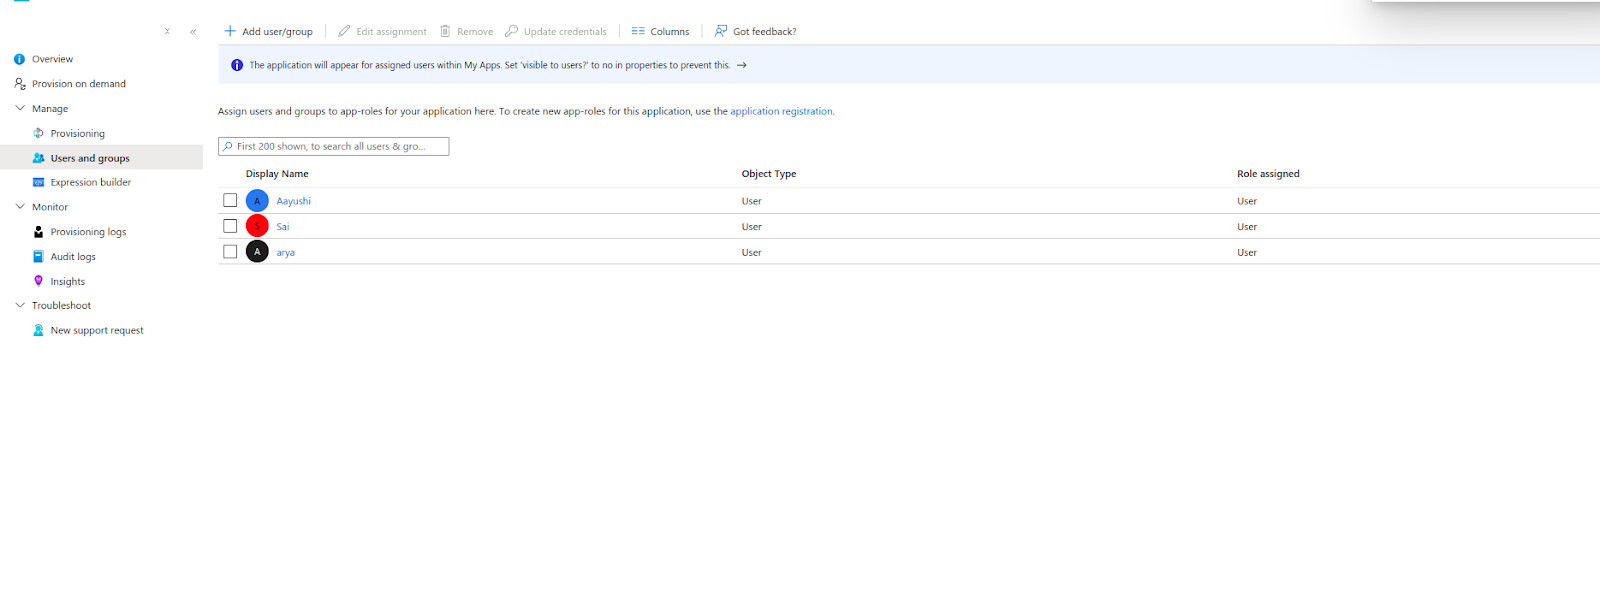
You can remove the assigned users by selecting the particular users and clicking the Remove CTA at the top bar.
8. Click Provisioning in the left panel.
9. Select Provision Microsoft Entra ID Users -> Set Enabled -> Yes
10. Under Target Object Actions, Enable the Create, Update, Delete
11. Under Attribute Mappings, Edit the userName and externalId rows of your app (Eg: customappsso Attribute)
In the userName row, click Edit
Under Source Attribute, select mail from the dropdown and select OK
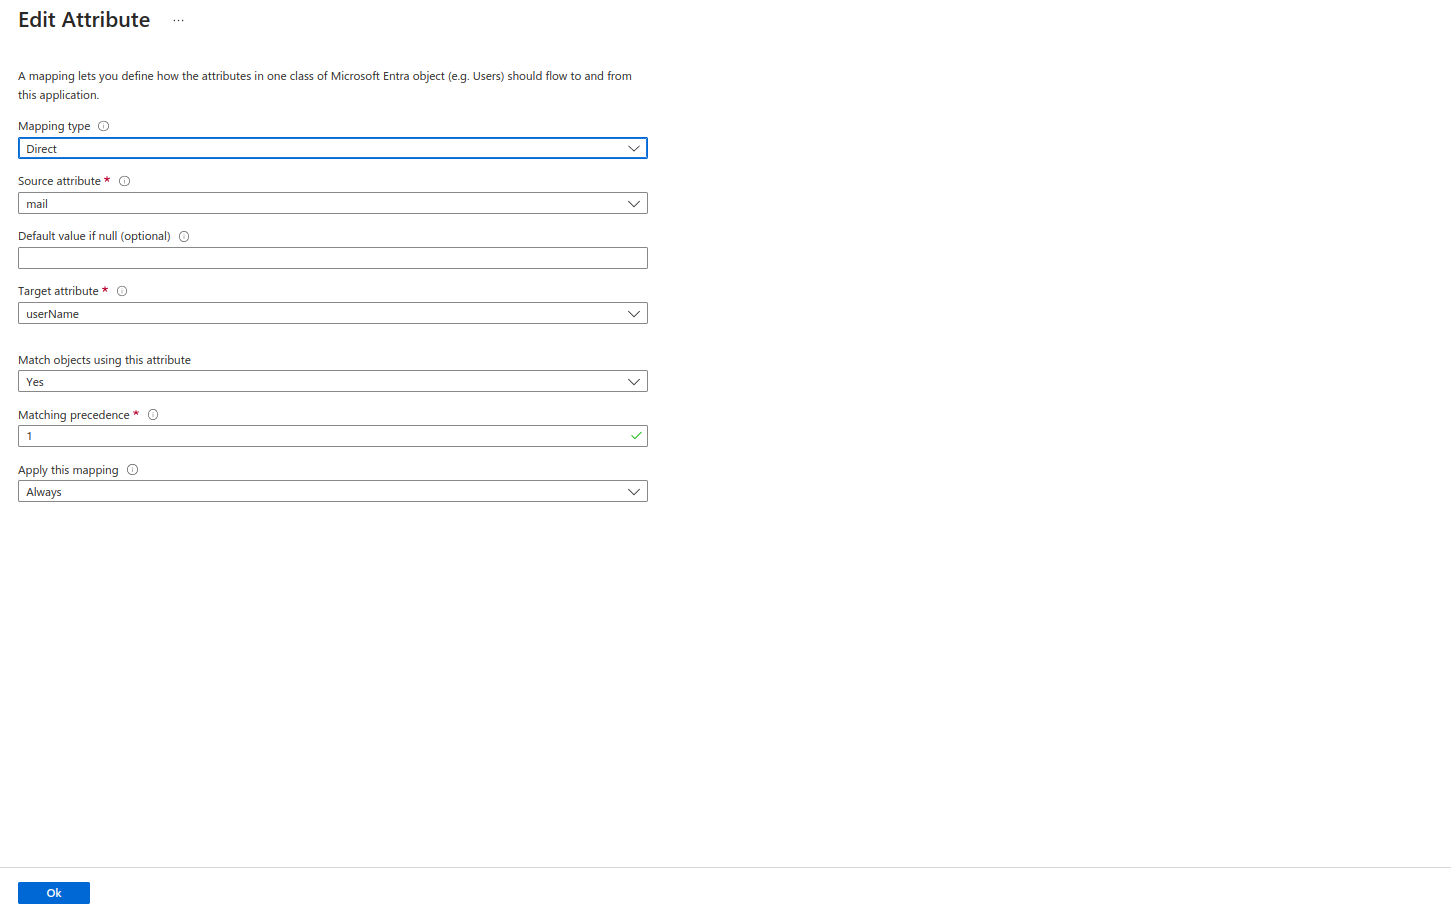
In the externalID row, click Edit
Under Source Attribute, select objectId from the dropdown and select OK

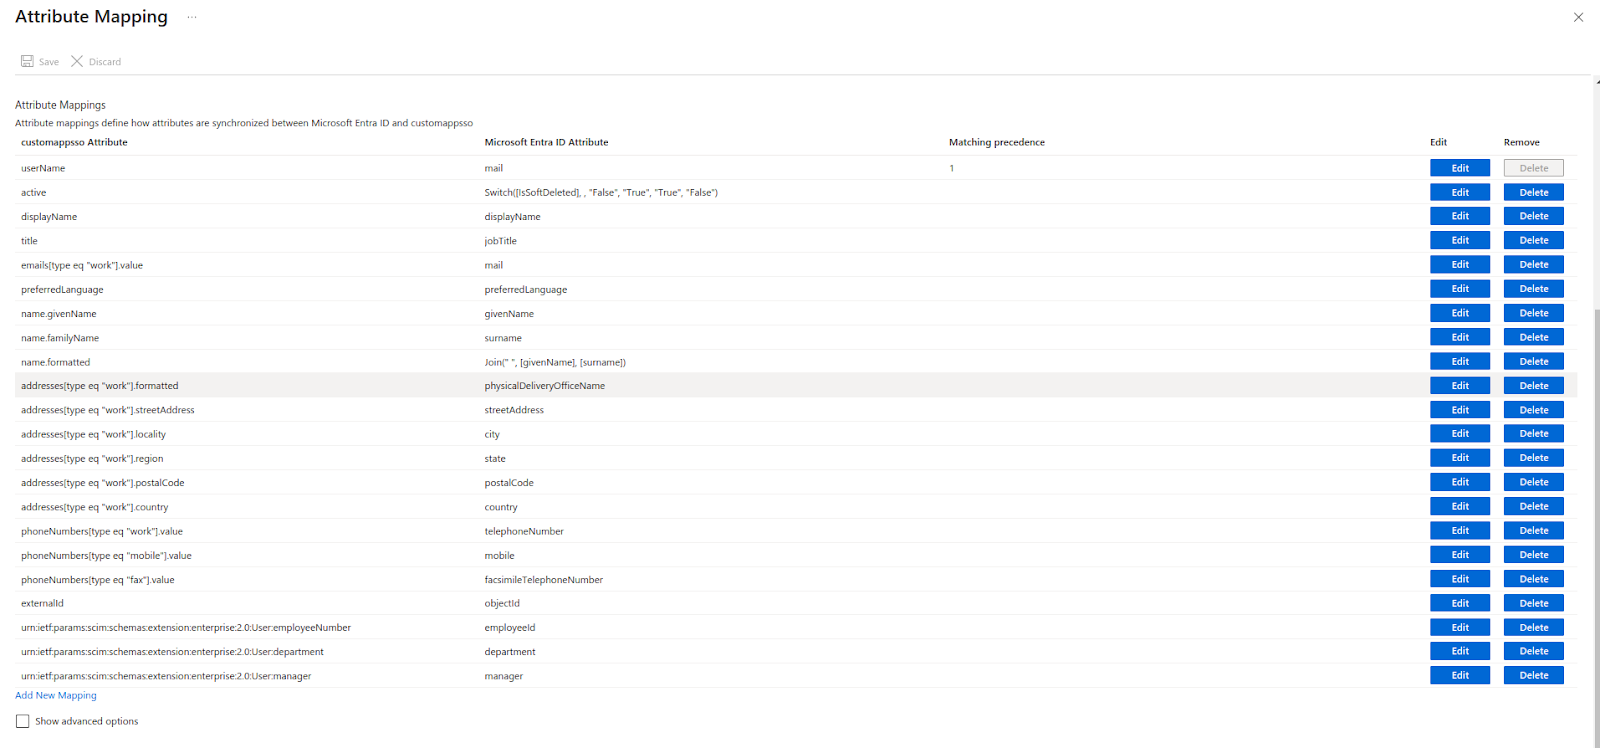
12. Ensure the mappings as in the screenshot.
Note: Do not make any other mapping changes, other than the userName and externalID
13. Click Save
14. Select Provision Microsoft Entra ID Groups -> Set Enabled -> No and Click Save
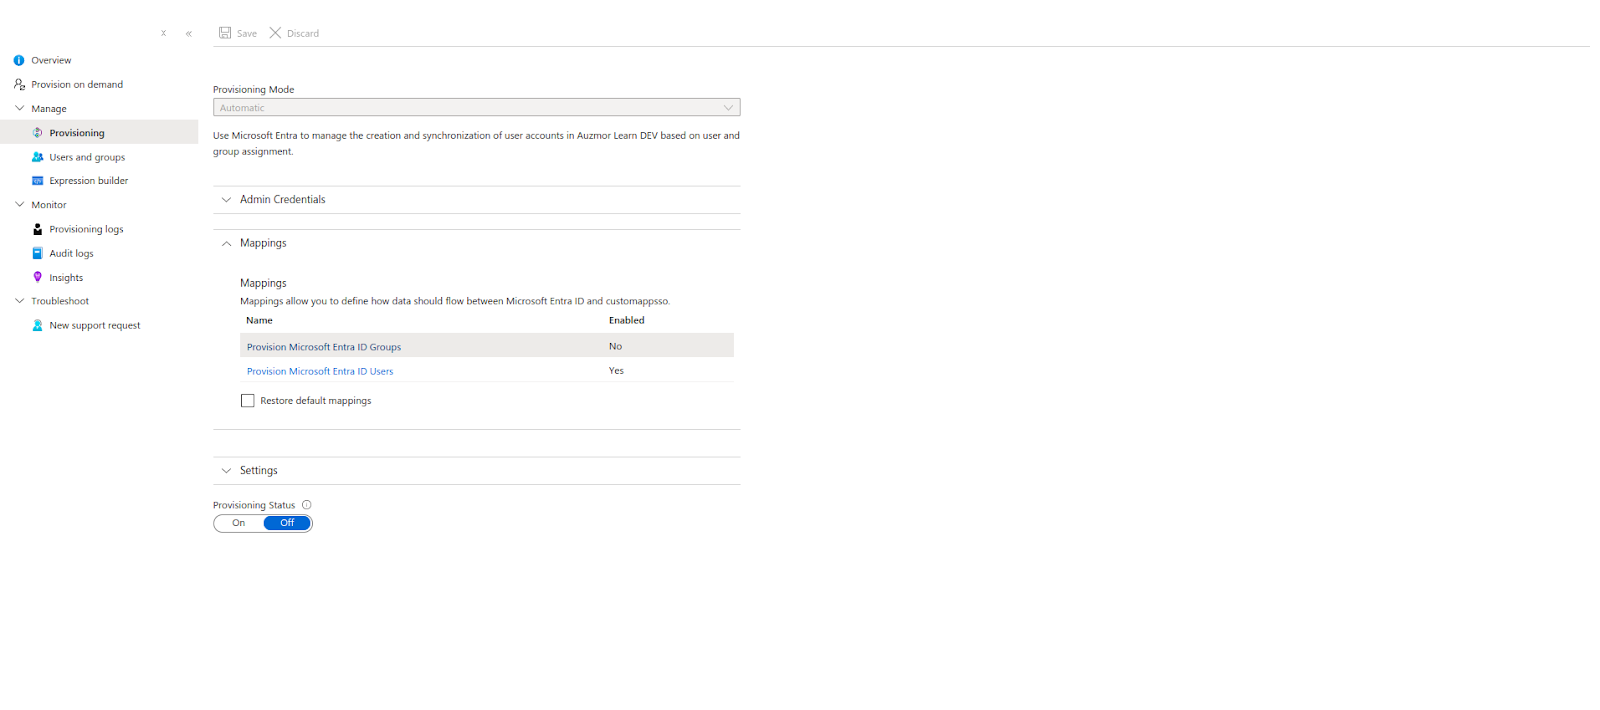
Note: Do not select the Restore default mappings which restores the mapping changes to default.
15. Under the Settings -> Scope -> You can find two options.
Sync all users and groups -> Syncs all the users and groups in the azure directory to your application.
Sync only assigned users and groups -> Syncs only those users and groups that are assigned in the enterprise application to your application. You can assign the users and groups by using the Users and groups options in the left panel.
Select the Sync only assigned users and groups in order to perform SSO.
16. Under Provisioning Status, Select ON
17. Click Save at the top bar.
Now the SCIM provisioning is enabled.
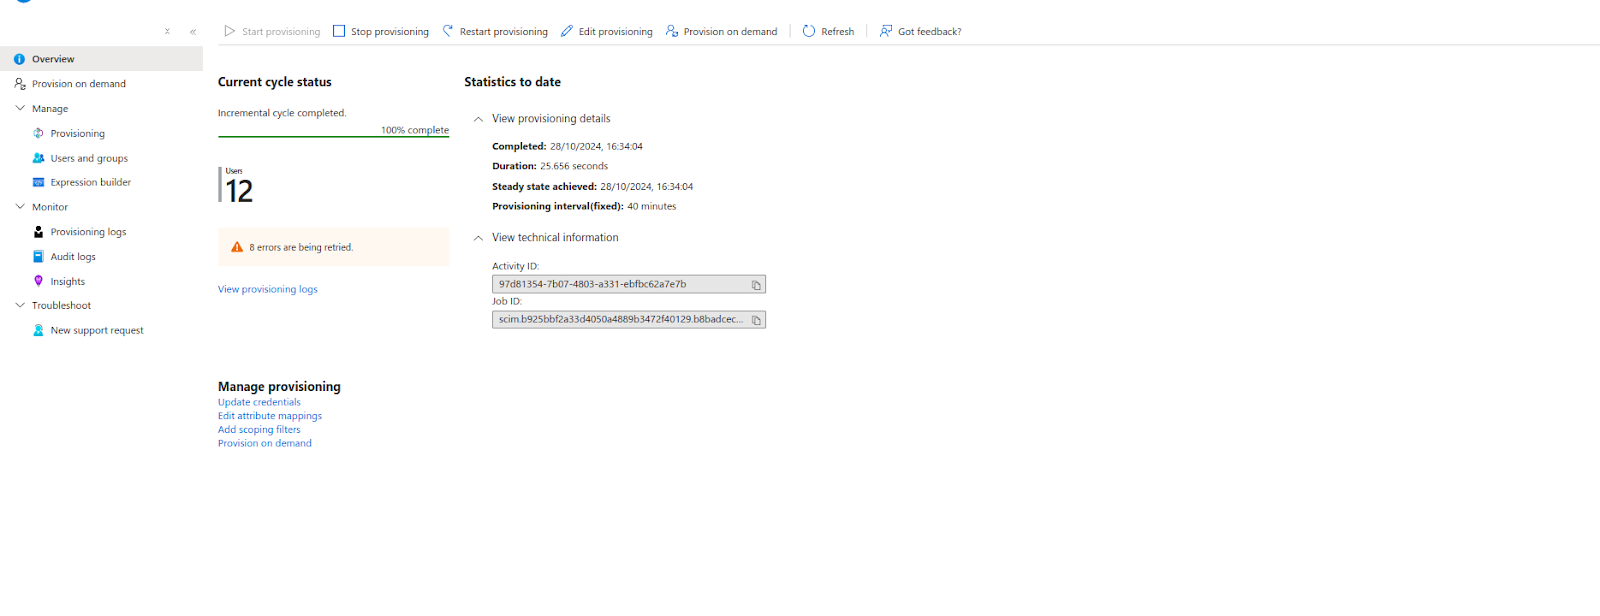
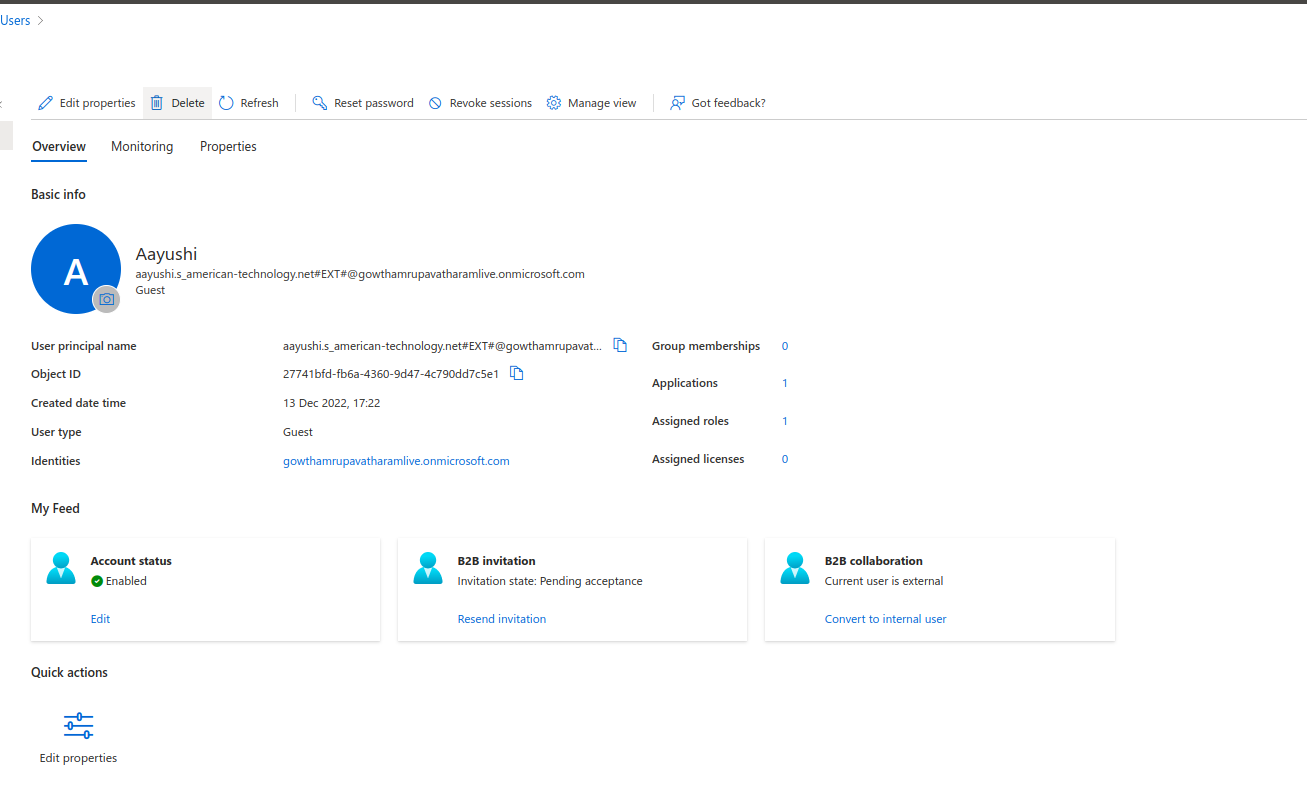
18. Click the Overview Button in the left panel and you can find the overall provisioning details here.
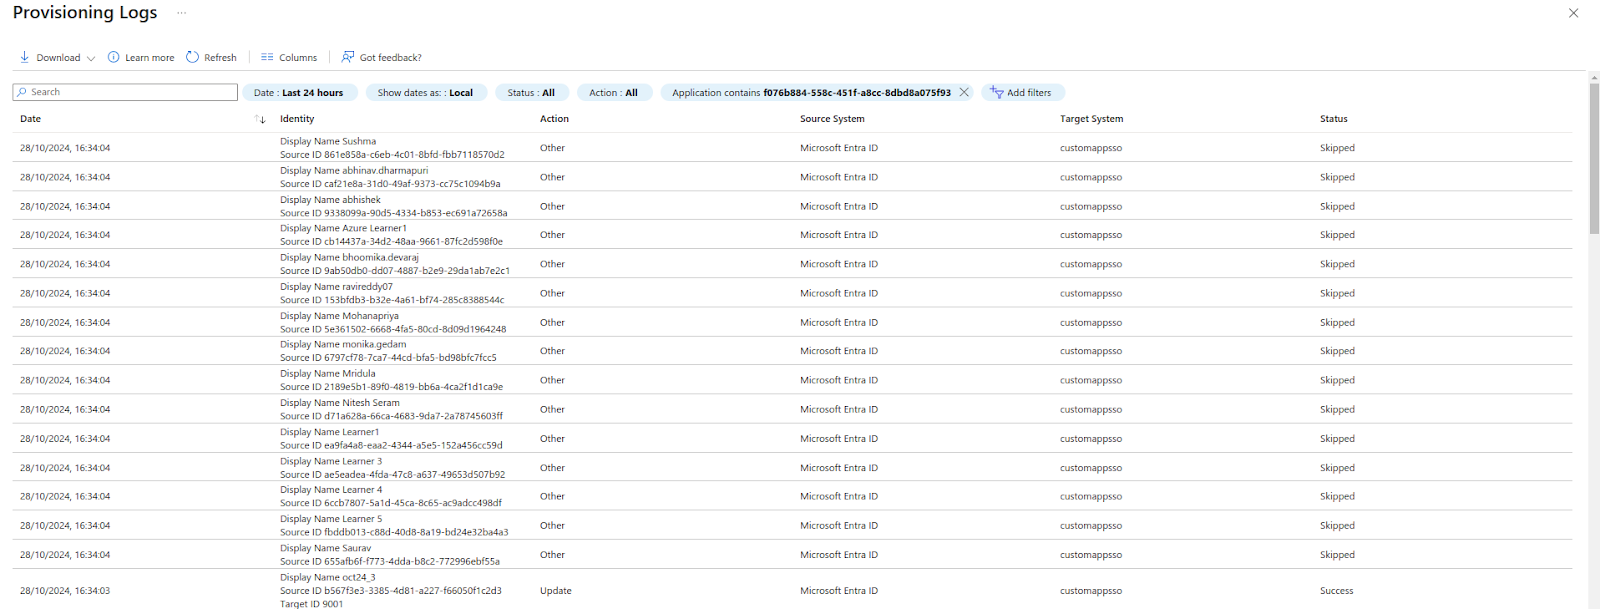
19. Now Perform the CRUD operations on the users in Azure Directory. Each provision cycle takes place at an interval of 40 minutes and you can view the user provisioning statuses by selecting the View Provisioning logs link.
Note: You can select Stop Provisioning and Start Provisioning CTA`s on the top bar to get the immediate results.
20. Deprovision User: Follow any of these steps
Unassign the user by removing the users from the Users and groups tab of the enterprise app.
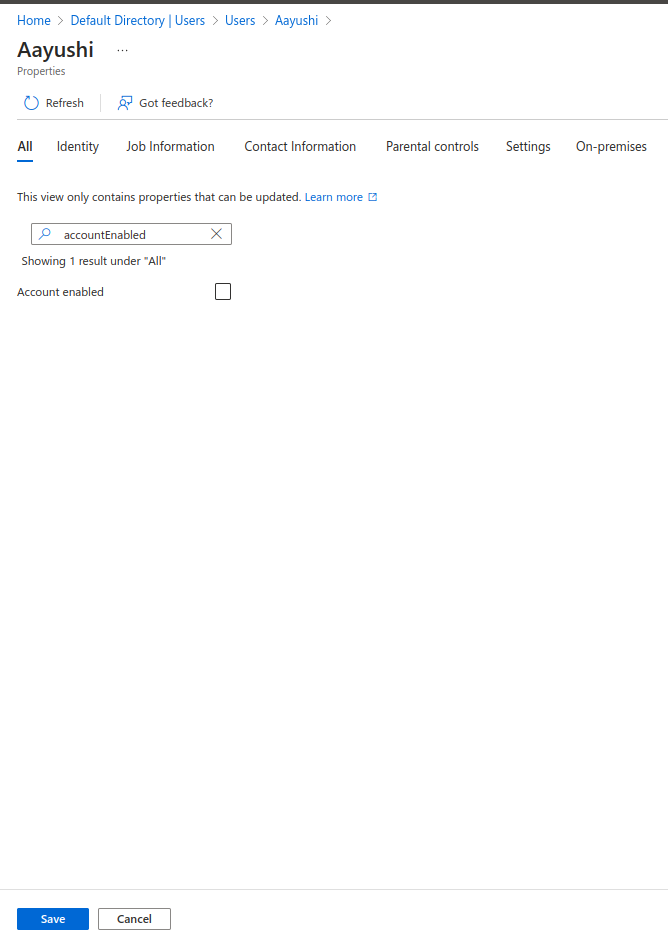
Globally Make a user to disabled in Azure Directory.
Globally Delete a user in Azure Directory.
Note: As per Azure doc, on doing these, they go into a soft-deleted state. They stay in that state for 30 days, after which they are hard-deleted, unless any reassignment users actions take place.
21. Disable SCIM provisioning in Azure: Select the Provisioning tab in the left panel and set the Provisioning status to Off and Save it.
Related Articles
Azure Active Directory SSO Configuration
Azure Active Directory SSO Configuration Login in azure portal with the Microsoft account Click Azure Active Directory in the homepage Click Enterprise applications under Manage tab on the left Click the New application Select the Non-gallery ...OKTA SCIM Configuration
Roles: Primary Admins Below are the steps you need to follow: Sign in to your Okta org with your administrator account. Once logged in, click the Admin button in the top right corner. Select the Applications-> Applications tab in the left panel. ...SharePoint app-only Configuration Azure AD application
Description: Accessing SharePoint using an application context, also known as app-only can be done by using an Azure AD application. In Azure AD when doing app-only you typically use a certificate to request access: anyone having the certificate and ...Okta SSO Configuration
Below are the steps to Configure Okta SSO: Enter the Login credentials and click Sign In button Once logged in, please ensure that you are accessing the platform as an Admin (Using the “Admin” View) Click on the Applications option on the Left-Hand ...G-Suite SSO Configuration
G-Suite SSO Configuration Login in to Google Admin account From the apps menu select Admin Click Apps in the admin console Click tile that says SAML apps Click yellow plus icon at the bottom right Click SETUP MY OWN CUSTOM APP at the bottom Note down ...